As you proceed, you will learn how to install ModelMuse and all the necessary packages (MODFLOW, MT3DMS, MODPATH, etc.) required for numerical modeling
Note 1: Numerical models that are based on MODFLOW and associated programs, are not compatible with MacOS, it is necessary to use PCs. Windows virtual partitions can only be used if you are very experienced in IT management of your computer.
Note 2: This tutorial might not be updated to the latest version of ModelMuse; however, the procedure generally remains the same.Graphical User Interface ModelMuse and modeling codes #
- Download and install ModelMuse v5.3.1
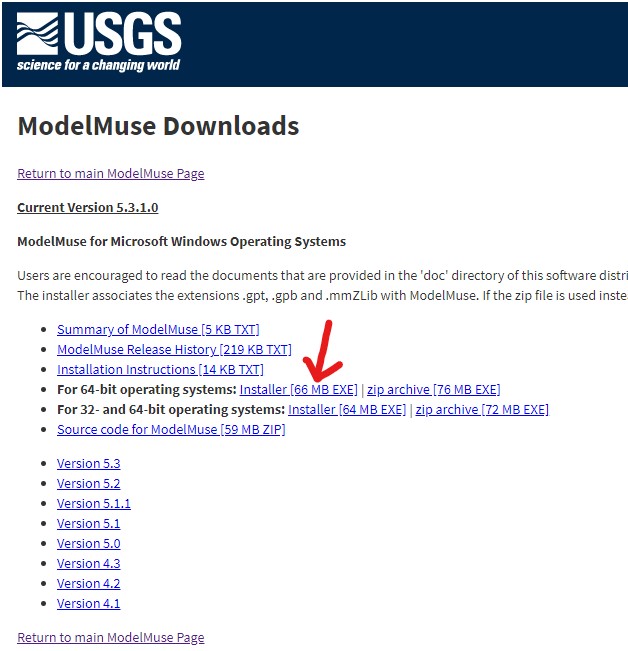
- Launch the ModelMuse installer.
- In some cases, Windows Defender may warn that you are trying to install an unrecognized application. In this case, simply click on “More info” and then on “Run anyway.”
- Once the installation is completed launch ModelMuse: when you are asked “What do you want to do?” select “Create a new MODLFOW model” and then “Next”.
- Proceed by selecting “Next” and “Finish,” leaving all settings as default.
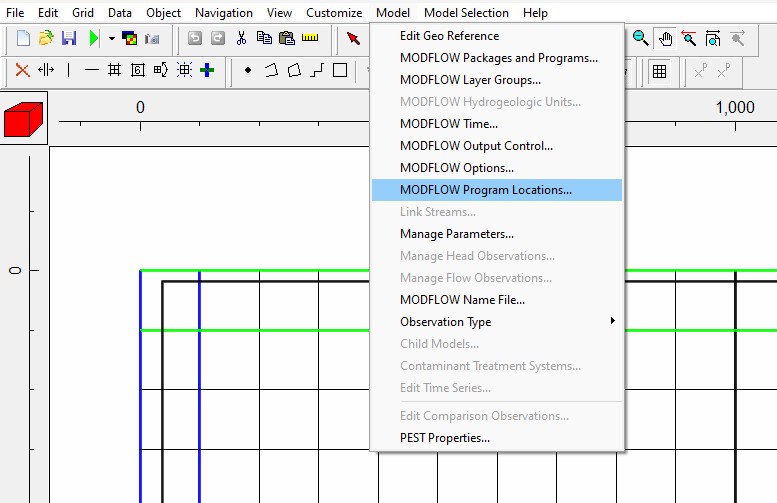
- The main ModelMuse window will open. However, the necessary modeling codes (MODFLOW, MT3DMS, etc.) are NOT set up by default and must be downloaded and then linked separately. Go to Model | MODFLOW Program locations… as shown below.
- Click on the link as reported in the picture below to go to the MF6 page, then click on “View software release” and download the ZIP file
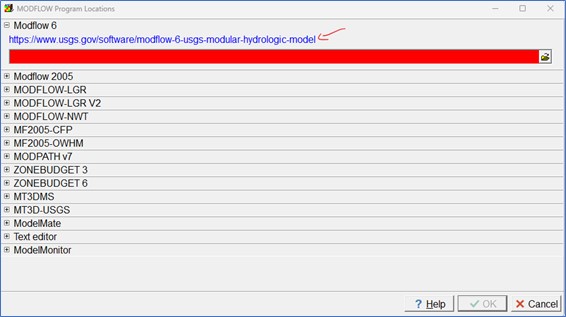

- Unzip the folder and copy it directly in C:\mf6 or create a dedicated folder with a very short path (e.g. C:\EXE\mf6).
- Return to ModelMuse, navigate again to Model | MODFLOW Program Locations | Modflow 6 and browse the path to the executable file of MODFLOW 6 …\mf6\bin\mf6.exe.
- Now the pathline should be no more highlighted in red.
- Link also the ZONEBUDGET 6 executable file (zbud6.exe) contained in the mf6 folder (you don’t need to download it separately) at C:\EXE\mf6\bin\zbud6.exe.
- Open again the MODFLOW Program Locations window.
- Go to MODPATH v7 string and open the link to the MODPATH v7 page
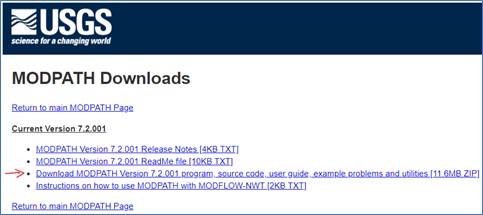
- Download and unzip the software.
- Update the path in the same way as for Modflow 6.
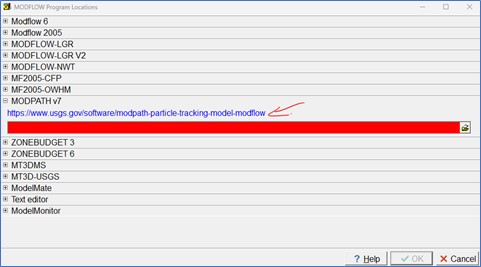
 If you see MODPATH v5 or v6 (instead of v7) in the MODFLOW Program Locations window, before linking the .exe file, open MODFLOW Packages and Programs | Post processors and check the MODPATH window and ensure that MODPATH version 7 is selected.
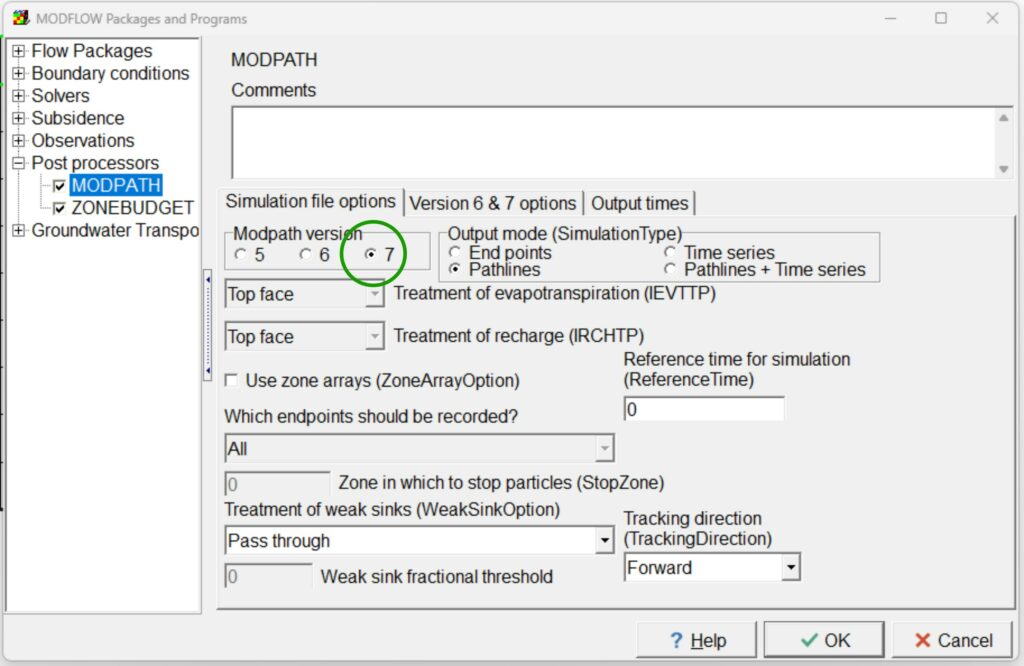
Note 3: If you need to use MODFLOW 2005 you can only use versions of Modpath prior to v7, such as the v6. In that case download Modpath v6 (from the same webpage of v7) and proceed with the same procedure outlined for Modpath v7, selecting 6 as a Modpath version in MODFLOW Packages and Programs and then linking the mp6.exe file in MODFLOW Program Locations.
Run Check #
In order to be sure that everything is correctly setup:- Download the test model Test.gbp and save it in C:\TEST.
- Open the Test.gbp file and go to File | Export | MODFLOW 6 Input Files…
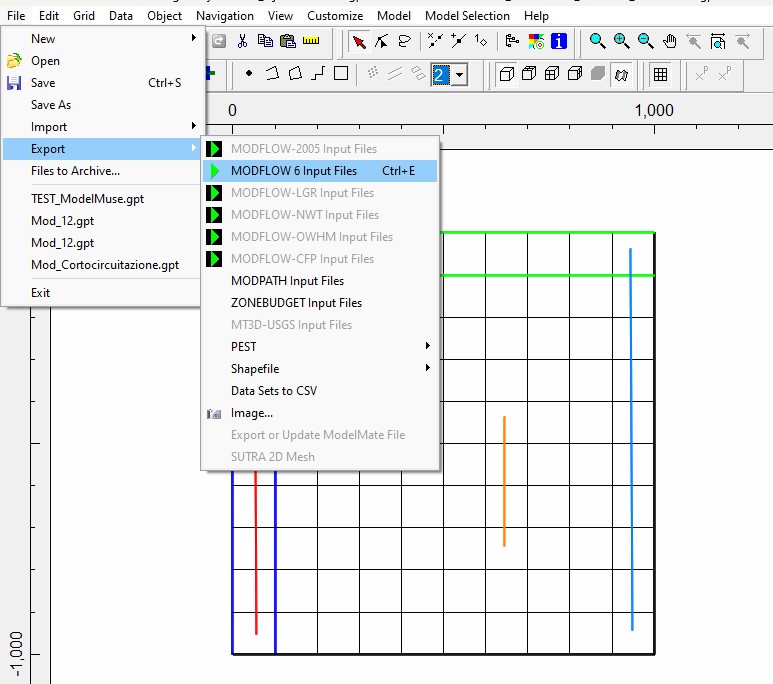
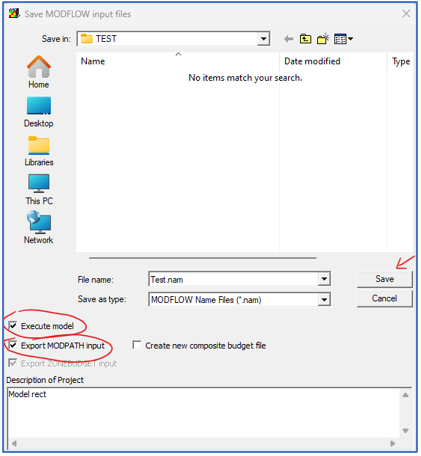
- Create input files and run MODFLOW and MODPATH at once as indicated below.
- After the simulation ends, you should see the ModelMonitor window as it follows.
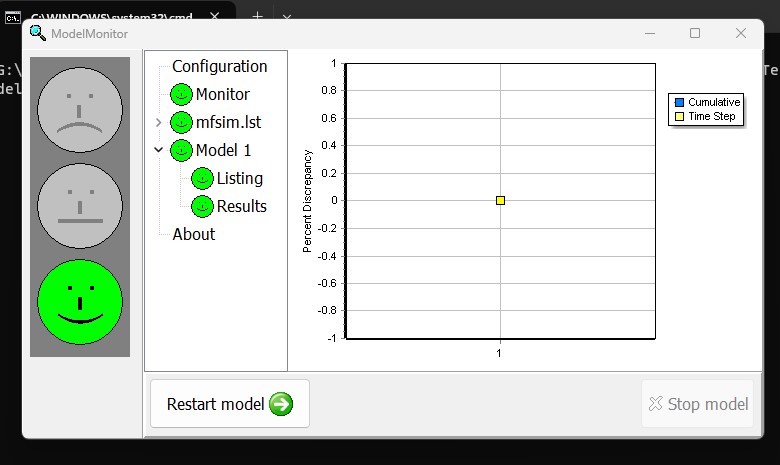
- Now you can close ModelMonitor, close the mfsim.lst file and the test.lst file and press any key to close the command window.
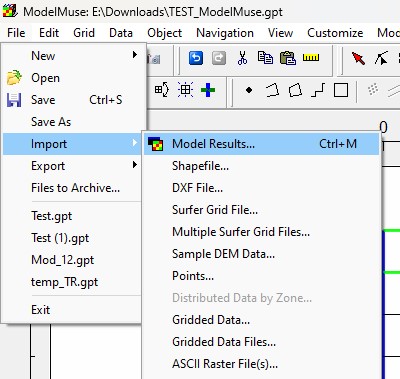
- If you want to visualize the results of the Test model, go to File | Import | Model results… then select the .bhd file in the working directory (i.e. the folder where your ModelMuse file is running and where all the output of the model are stored).
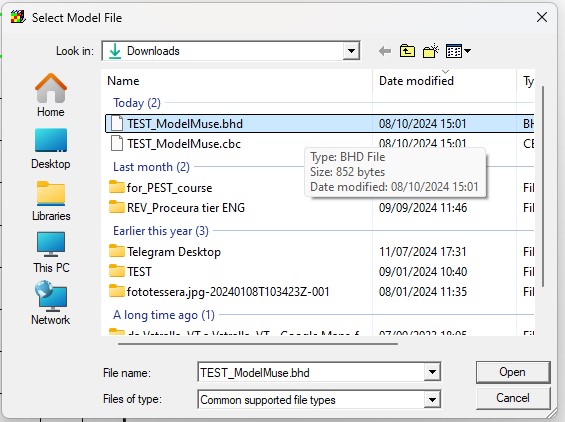
- Now, make sure to select everything as in the first picture below and then hit OK. If the procedure has been carried out correctly you should see piezometric contours as in the second figure below.

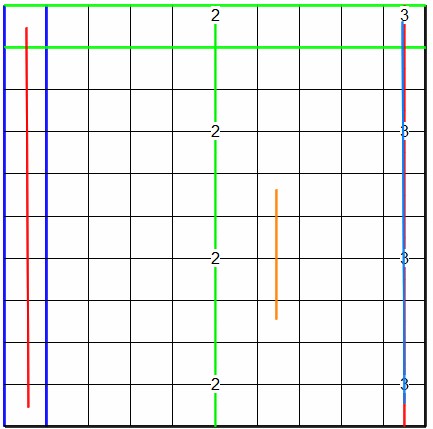
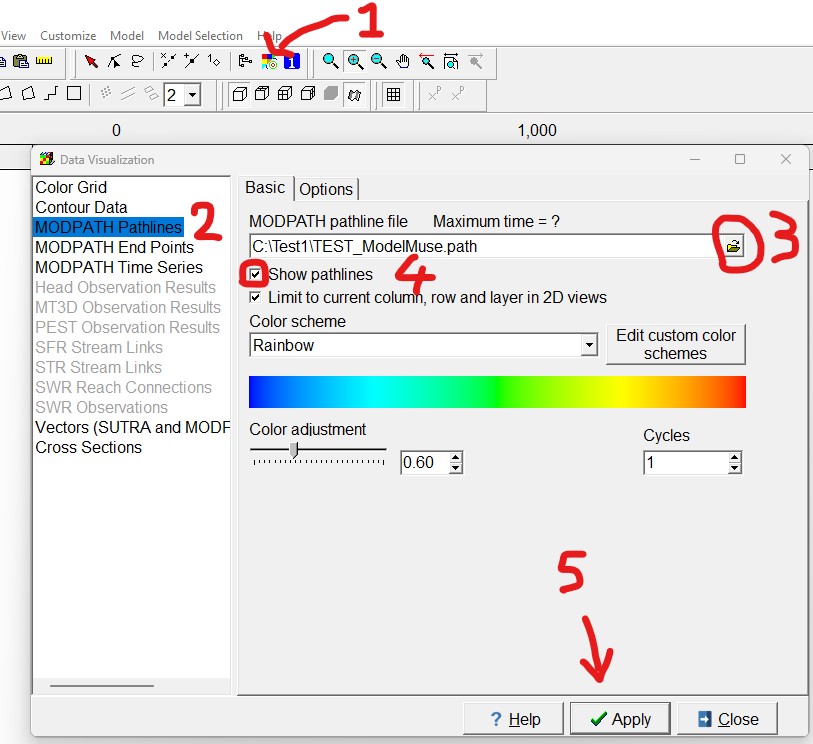
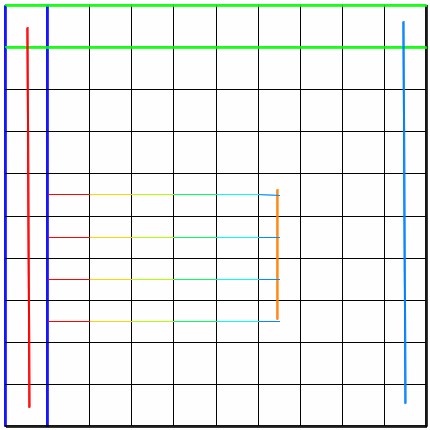
- Now, to visualize the particle lines, go to Data visualization, then click on MODPATH Pathlines. In this window select the .path file in the working directory, then check the Show pathlines box and hit Apply. You should see particle lines as in the second picture.
